Profiles, screenshots and other helpful tips! |
Post Reply 
|
Page 123> |
| Author | |
GM Rikoo 
Moderator Group 

Community & PR Manager Joined: 28 Mar 2014 Location: Mars Status: Offline Points: 1233 |
 Post Options Post Options
") Thanks(1) Thanks(1)
 Quote Reply Quote Reply
 Topic: Profiles, screenshots and other helpful tips! Topic: Profiles, screenshots and other helpful tips!Posted: 09 Oct 2014 at 19:08 |
|
Hello all!
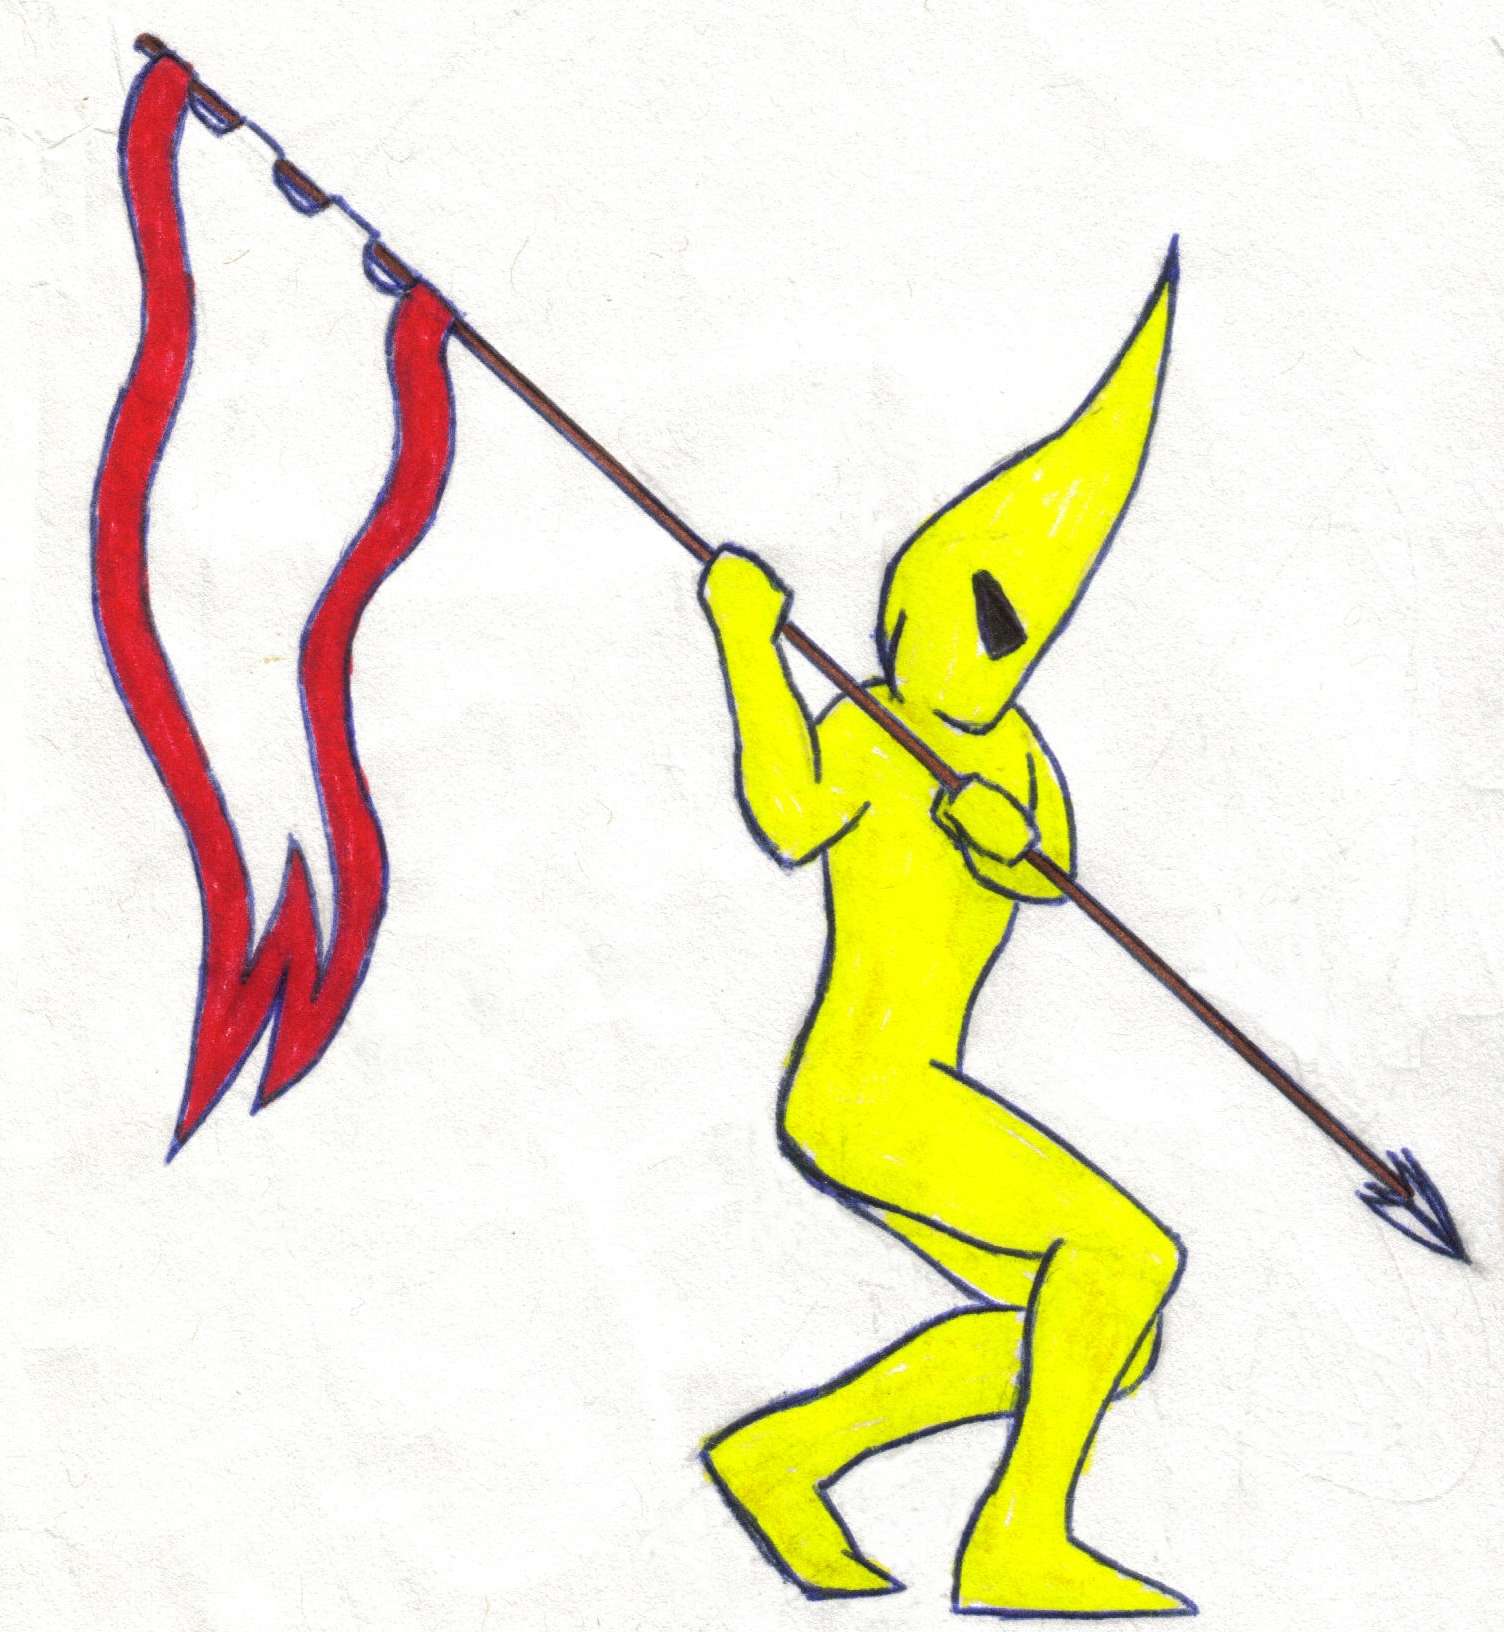
One of the big issues I come across while working with players is that they don't know how to take and share a screenshot or don't know how to update their profile. I am going to tackle these two issues and will possibly add more later, as they come up. Feel free to add tips of your own, and I can add the good ones here. If you want to see another subject tackled, let me know and we'll do it here! This is not for combat or in-game stuff, really, but mostly covers images and sharing info. Cool? Let's go! This guide will be broken up into several parts. PART 1: Taking and sharing a screenshot! PART 2: Using other Illyriad images on your profile PART 3: Adding stuff to your profile! (Thanks to Fiona!) 1)Taking and sharing a screenshot! A screenshot is simply a picture of whatever is on your screen or in your game. For example, click here to see a screenshot of this post as I am making it. So, a screenshot comes in handy when you want to show someone something on your screen. It is useful to us when we need to see what you see, literally, just in case there is an error or bug. Screenshots of the in-game map! Before we get started on sharing screenshots of, say, random stuff outside of Illyriad, I wanted to show you how to share a screenshot of the in-game map. That means if you see something cool on the in-game map and want to show it (like a parade of caravans) then this is how you do it. (This only applies to the in-game world map!) Go to the map and look for the share button below:  Click that button and a pop-up will, well, pop up. Like this:  ...these different links give you ways to share the screenshot of the map. You'll probably use the "Image URL" (2nd one down on the list) the most. For example, the image url (where the image is on the internet) above links to this map share. Again, this is good for those times when you see something cool or scary or useful on the map and want to show people a screenshot of it. Screenshots of everything else! Now, let's say you are having a problem with a section of the game and want to show people what you see on your screen. In this case, you are just going to take a screenshot of your screen, upload it to a free service that hosts images, and share the link with other people. This comes in handy when you see something on your screen that appears broken and you want to show it to the team or when you see something funny on a website and would love to show people. We'll get into sharing screenshots from other games later, as the process can be different from game to game. 1) LOOK at the screen: See the cool thing on the screen? Awesome. - Example: I see a cool picture of a Panda on my screen and I want to share it! I MUST SHARE IT! 2) TAKE a screenshot: I will add to this list as information becomes available, but for now we'll cover the most common ways. I am on Windows 8 so I hit PrtScn and the Windows button at the same time! YAY! - How-to: On Windows 8: Hit the windows button AND the PrtScn (or PrintScreen) button TOGETHER. * Click here to see how the Windows button looks on the keyboard. * This button press/es might make your screen flash or go dim for a split second, like it's taking a picture. On other older operating systems: Simply hit the PrtScn or "Print Screen" button. Remember that Print Screen tells your computer "Take a picture of this screen so I can print it or show it off." Other OS' or tools: Will fill this out over time. EDIT: Using the SNIPPING TOOL! The snipping tool can be found on your Windows 8 machine by going to search and putting "snipping tool" in. I added mine to my start screen, and it works great for screenshots of particular areas. Save the picture and follow the other steps below! 3) GET that screenshot: Now you will want to share this screenshot, so here's one of the easiest ways. - First, LOCATE it. If you use the Windows 8 method above, your screenshot will be in Computer>Pictures>Screenshots. There should be a folder icon in your taskbar that looks like this, click on that and locate your screenshot folder like this. If you are using the simple "PrintScreen" button alone, pushing that button takes a snapshot of your screen and holds it in the computers memory so you can "paste" it into something else. In this case, people often use Paint (a simple, default Windows program) to "paste" the screenshot into. So, you would open Paint (find it by searching your PC or by going to the programs list on Windows 8) and go to the "Paste" button. Pushing that will "paste" the screenshot, and now it can be saved as a file. You'll want to go to "Save As" then "Jpeg" and then when the pop-up pops up, give it a simple name and save it to an area that is easy to remember, like the desktop. Once you have your screenshot saved on your desktop (or saved in your screenshots folder by pressing Win key + PrtScn) you can now share it. 4) SHARE that screenshot: Now you want to send the screenshot or, in cases like ours, share it by uploading it to a service and sharing the link. - OK, so you have your picture ready to go. You can simply SEND that picture file (the one you saved on your desktop, remember?) to a friend through email or something. But, for this game, I have found that most people like to upload it and share a link. - Go to (my favorite, but there are others) tinypic.com. TinyPic is a free service that lets you upload a picture so you don't have to save it on your own webspace. Once you upload it, the service gives you several ways to share it. You do NOT need an account to use TinyPic. So, I go to TinyPic.com and click "choose file", like this. I pick the picture file from my desktop (or screenshots folder) and click "upload now". It uploads the picture and then brings me to a series of links that I can use to share in different ways. The easiest way to share your pic is by clicking the "URL for E-Mail & IM" link and sharing it. Double-click or right click the link to highlight it to copy and share. I uploaded the screenshot of the panda from earlier, got the link and here it is: http://tinypic.com/r/34fh36f/8 The other options are for embedding the picture in a forum post or email, etc etc. We will go over those later. For now, the most important thing is to learn HOW to take a screenshot, WHERE the screenshot goes when you have taken it, and HOW to upload it to get a link to share. 2) Here's some nice Illy art to share on your profile! OK, so for part 2, I want to show you how to use some very familiar artwork in your profile! Thanks to our fantastic local artist GM Cerberus (as well as the previous artists who we contracted) we have a TON of artwork that you can use on your profile. In fact, using Illyriad artwork on your profile is sort of a nice alternative to using something that might NOT be yours, and that might be copyrighted. Just sayin'. :) We post a lot of GM Cerberus' art in these forums. I will list the links here (will be updated over time) so you can simply right click on the picture you like, go to "open in a new tab (or window)" and then, after it opens, simply copy and paste that web address of the picture into your IMAGE area on the profile editor. Get images here: You can also check out ShulNak's links to Illy icons: http://forum.illyriad.co.uk/profiles-screenshots-and-other-helpful-tips_topic5880_post85402.html#85402 If you look at a profile like the one Sir Edwin put together, you can see how awesome this can be: For other cool profile ideas, check out some of our past winners: We'll cover how to edit your profile like these pros in later additions! GM Rikoo 3) Next, we'll cover How to Edit Your Profile! Here is a helpful guide on how to edit your profile! GM Rikoo
Edited by GM Rikoo - 24 Apr 2015 at 14:31 |
|
|
Illyriad Community Manager / Public Relations / community@illyriad.co.uk
|
|
 |
|
|
Vanerin
Forum Warrior 

Joined: 05 Oct 2011 Status: Offline Points: 418 |
Post Options
Thanks(0)
Quote Reply
Posted: 09 Oct 2014 at 19:19 |
|
For Mac OSX, you can do a screenshot with the keyboard shortcut "cmd+shift+4". This will turn your cursor into a crosshair that you can select an area of the screen with. It will save as a jpg to your desktop.
~Vanerin
|
|
|
|
|
Berde
Forum Warrior

Joined: 10 Dec 2011 Status: Offline Points: 380 |
Post Options
Thanks(0)
Quote Reply
Posted: 09 Oct 2014 at 19:20 |
|
An alternate method if you can't remember the keystroke command
To take a screenshot on a Mac (I'm back on 10.6.8 on an older laptop, just FYI): Taking a picture of your entire screen You can take a picture, or “screen shot,” of your entire screen using the Grab application. To take a picture of your entire screen:
Grab captures the screen within a few seconds. A new window appears with an image of your entire screen. If you want a pointer to appear in a screen shot, choose Grab > Preferences and select a pointer. When you take your screen shot, click the place on the screen where you want the pointer to appear. Taking a picture of part of your screen If you don’t need a picture of your entire screen, you can capture just part of the screen using Grab. To take a picture of part of your screen:
There's also an option for "Window" that will let you select your current browser window, document window, etc.. When you go to save you will be given a choice of where to save it, most likely defaulting to your Documents folder. While it does require that you sign up for an account, if you share images frequently I find that imgur.com runs a little faster and with less ad-spam and pop-ups than TinyPic.com
Edited by Berde - 09 Oct 2014 at 19:22 |
|
|
|
|
Rupe
New Poster 

Joined: 04 Apr 2010 Location: Ch Status: Offline Points: 39 |
Post Options
Thanks(0)
Quote Reply
Posted: 10 Nov 2014 at 21:27 |
cmd+shift+3 will capture whole screen |
|
|
|
|
fronfor
New Poster

Joined: 15 May 2010 Status: Offline Points: 35 |
Post Options
Thanks(0)
Quote Reply
Posted: 18 Nov 2014 at 03:57 |
|
If you want something a little more versatile than PrintScreen, for Windows, there's a default program called Snipping Tool, with many of the functions Berde just mentioned.
|
|
|
|
|
GM Rikoo
Moderator Group
Community & PR Manager Joined: 28 Mar 2014 Location: Mars Status: Offline Points: 1233 |
Post Options
Thanks(0)
Quote Reply
Posted: 18 Nov 2014 at 13:33 |
Yes, been needing to post a short guide on how to use it as well. If some friendly player wants to post it, that would be awesome. :) GM Rikoo
|
|
|
Illyriad Community Manager / Public Relations / community@illyriad.co.uk
|
|
|
|
|
abstractdream
Postmaster General 
Joined: 02 Oct 2011 Location: TEXAS Republic Status: Offline Points: 1865 |
Post Options
Thanks(0)
Quote Reply
Posted: 19 Nov 2014 at 04:01 |
|
The Snip Tool is fairly intuitive. Click on it, the screen goes hazy. Click and hold on the corner of the area you want to "snip" and drag the cursor across the area. A clear box area will appear over the image you are highlighting. Once you let go of the mouse button, the image will pop up in its own window. Click the save button (top left) and save the image to a handy location (with a handy name). Voila!
|
|
|
|
|
|
|
|
abstractdream
Postmaster General
Joined: 02 Oct 2011 Location: TEXAS Republic Status: Offline Points: 1865 |
Post Options
Thanks(0)
Quote Reply
Posted: 19 Nov 2014 at 04:15 |
|
For iPad users, there are 2 good options for saving images. The first is the basic save. Touch and hold on the picture you want to save. A menu pops up. Select "Save Image." The image will now appear in you Photos interface.
The other way is to screen shot it. You can zoom in if you like and then click the home button and the power button simultaneously. The screen shot will appear in the Photos interface. In the Photos interface is an Edit option (top right). With it you can do basic editing but the most handy option is crop. I've taken free use images off the internet in both ways I mentioned above and cropped them in various ways to make all the images that appear on my in-game profile as well as my alliance TRIVIUM's profile page. I used Postimage.org to host them for free. Edited by abstractdream - 19 Nov 2014 at 04:17 |
|
|
|
|
|
|
|
abstractdream
Postmaster General
Joined: 02 Oct 2011 Location: TEXAS Republic Status: Offline Points: 1865 |
Post Options
Thanks(0)
Quote Reply
Posted: 19 Nov 2014 at 04:33 |
|
To get an image in your profile or in an IGM, click the little picture icon (first item on the fourth row of the edit tools). A box pops up. It's called "Image Properties". In the section called URL you paste the address for the image you want to add. I use Postimage.org (as shown above) and use the code called "Direct Link." To alter the size, click on the section called "Width". Changing the width only should maintain the ratio of the width/height of the image. The preview section will give you an idea of the size of the image when it is finished. Once you are satisfied with it, click "OK" and you will have your image.
These steps definitely work on iPad. It's how I have done all the images on both profiles. Edited by abstractdream - 20 Nov 2014 at 03:08 |
|
|
|
|
|
|
|
GM Rikoo
Moderator Group
Community & PR Manager Joined: 28 Mar 2014 Location: Mars Status: Offline Points: 1233 |
Post Options
Thanks(0)
Quote Reply
Posted: 26 Feb 2015 at 17:07 |
|
Part 2: Using Illy artwork in your profile!
OK, so for part 2, I want to show you how to use some very familiar artwork in your profile! Thanks to our fantastic local artist GM Cerberus (as well as the previous artists who we contracted) we have a TON of artwork that you can use on your profile. In fact, using Illyriad artwork on your profile is sort of a nice alternative to using something that might NOT be yours, and that might be copyrighted. Just sayin'. :) We post a lot of GM Cerberus' art in these forums. I will list the links here (will be updated over time) so you can simply right click on the picture you like, go to "open in a new tab (or window)" and then, after it opens, simply copy and paste that web address of the picture into your IMAGE area on the profile editor. Get images here: (more to come) If you look at a profile like the one Sir Edwin put together, you can see how awesome this can be: For other cool profile ideas, check out some of our past winners: We'll cover how to edit your profile like these pros in later additions! GM Rikoo
|
|
|
Illyriad Community Manager / Public Relations / community@illyriad.co.uk
|
|
|
|
|
Post Reply
|
Page 123> |
 Tweet
Tweet
|
| Forum Jump | Forum Permissions You cannot post new topics in this forum You cannot reply to topics in this forum You cannot delete your posts in this forum You cannot edit your posts in this forum You cannot create polls in this forum You cannot vote in polls in this forum |


 Topic Options
 Vanerin wrote: